
How To Prepare A Document For Printing
Most reprints are caused by a file problem, not a printing problem. Ten minutes here prevents them.
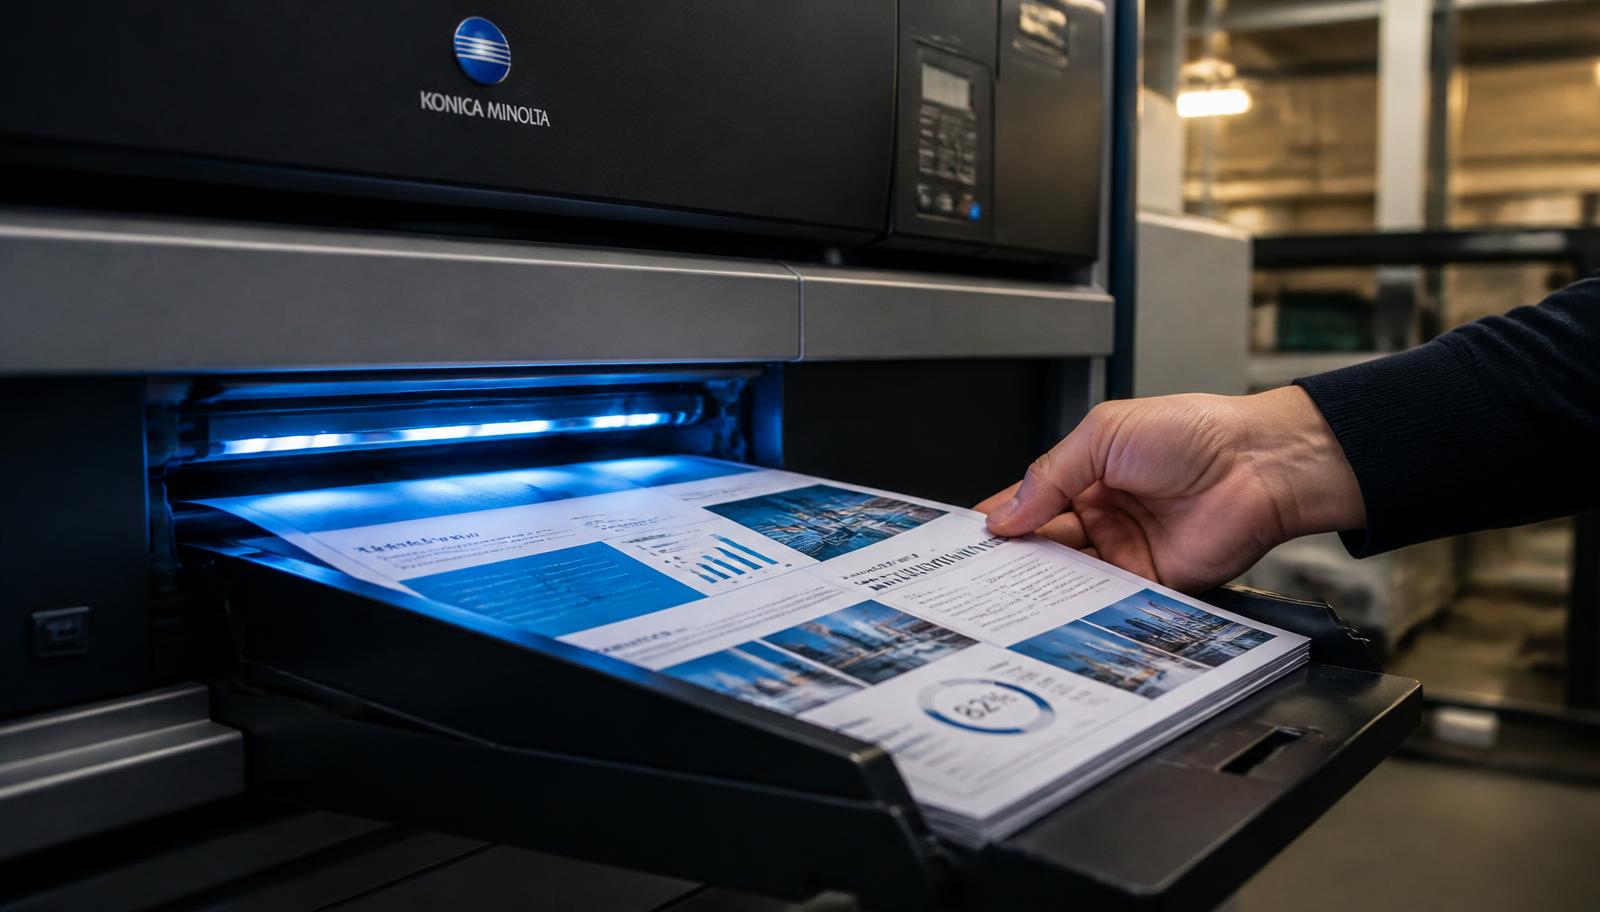
Every printing service can only produce what it receives. If a font is missing, an image is low resolution, or the page size is wrong, the press reproduces the mistake perfectly. Preparation is where print quality is actually decided.
The good news is that the checks are short and mostly mechanical. None of them require design software or technical knowledge.
Work through them in order before you upload.
Lock The Layout By Exporting To PDF
A DOC or DOCX file is a set of instructions that your computer interprets using the fonts and settings it has available. Open it elsewhere and the interpretation changes: line breaks move, tables shift, a page count grows. For a 200 page thesis this can rearrange every chapter opening.
Exporting to PDF embeds the fonts and fixes the layout. Do this last, after all edits are final, and then open the PDF and read it — not the original document. The PDF is what will be printed, so it is what you should proof.
Check Page Size, Orientation And Order
Confirm the document is A4 unless you have deliberately chosen otherwise. A file built from an American template will be Letter size and will not sit correctly on A4 paper.
Scroll through and look for pages that are rotated the wrong way, particularly landscape tables inserted into a portrait document. Confirm that the page order is correct after any late reshuffling, and that the appendices did not end up before the conclusion. Note the total page count from the reader, because that is the number you will enter on the order form.
Images And Resolution
An image that looks sharp on screen can print soft, because screens display far fewer dots per inch than a press. As a working rule, an image should be at least 150 dots per inch at its printed size, and 300 is better for photographs.
Practically, that means avoiding images copied from a web page and stretched to fill a page. Use the original file rather than a screenshot, and insert it at or below its natural size. If an image looks pixelated when you zoom to 100 percent in the PDF, it will look worse on paper.
Margins, Binding Allowance And Blank Pages
Set margins before exporting. Around 25 mm on outer edges is comfortable, with the inside edge wider if the document will be bound. For double side documents, enable mirror margins so the wider edge alternates correctly.
Keep any intentional blank pages that make chapters open on the right hand side. Remove any unintentional blank pages at the end of the file, which commonly appear from a stray page break and quietly add a sheet to every copy in a large run.
Proof Before Volume
For anything above a handful of copies, print one complete copy first and read it on paper. Screen proofing reliably misses three things: a heading orphaned at the bottom of a page, a figure that has drifted away from the text referring to it, and show-through on double side pages.
For very large runs, this single proof copy is the cheapest insurance available. Approve it, then release the rest of the run, and keep the approved copy so both sides know what was agreed.
How To Place A Printing Order With Us
The same six steps apply to every document covered in this guide.
1. Upload Document
Open the upload printout page and tap the upload area. Your device file picker opens and you can select a PDF, DOC, DOCX, JPG, JPEG or PNG file up to 150 MB. The file name, type and size are shown back to you, and you can change or remove the file before continuing.
2. Select Printing Options
Choose black & white, colour or mixed mode, and single side or double side. Mention paper weight or A3 pages here if your document needs them.
3. Enter Total Pages
Read the page count from your PDF reader rather than estimating it, and give an exact page range if only part of the document should be printed.
4. Enter Number Of Copies
There is no minimum. One copy is a valid order, and so is a run of several thousand. Copy count is what decides whether digital or offset production is cheaper for you.
5. See Estimated Price
The order summary combines pages, sides, colour mode and copies into a live estimate so you can compare options before committing to anything.
6. Submit / Request Order
Submit the request and an Order ID appears on screen. We then confirm the final amount and any delivery charge with you on 7289879398 before printing begins.
Binding, Collection And Delivery Options
Loose sheets suit drafts and anything destined for a ring file. Spiral and wiro binding lie completely flat, which is why they are the default for notes, lab records, manuals and working documents. Soft cover perfect binding gives a squared, printable spine and is the usual choice for project reports, proposals and paperbacks. Hardbinding, with foil spine text where required, is used for theses, archival record copies and premium editions. Card covers from 250 to 300 GSM, with matt or gloss lamination, can be added to any bound document and cost very little across a small number of copies.
Finished work can be collected free of charge from our counter at T-552 Baljeet Nagar, Patel Nagar, New Delhi, Delhi 110008. That is the fastest and cheapest option if you are in Patel Nagar, Baljeet Nagar, Shadipur, Karol Bagh, Rajinder Nagar, Ranjit Nagar, Kirti Nagar, Naraina or anywhere in Central or West Delhi, and it removes courier transit from your timeline entirely — which matters when a submission or a meeting is fixed. Everywhere else in India we dispatch by tracked courier. The delivery charge depends on parcel weight and your destination pin code, is paid by the customer, and is quoted before dispatch rather than added afterwards. Delhi NCR addresses in Gurugram, Noida, Ghaziabad and Faridabad are usually quickest; remote pin codes take longest. We give you dispatch confirmation and tracking instead of promising a delivery date on a courier’s behalf.
What Drives The Price
Four inputs account for almost every printing quote: total pages, number of sides, colour mode and number of copies. Pages set the volume of the job. Sides decide how many physical sheets that volume becomes, so double side printing halves paper use, document thickness and courier weight in one decision. Colour mode sets the per side rate, with black and white lowest, full colour highest, and mixed mode applying colour rates only to the pages that genuinely contain colour. Copies multiply the run, but not linearly, because file checking and setup happen once regardless of quantity and the per copy cost therefore falls as the run grows. Binding, paper upgrades, card covers, lamination and A3 pages are quoted on top, and delivery is always separate. If your job is unusual in any way, a two minute call to 7289879398 produces a firmer number than any calculator.
Ready To Print?
Upload your document, choose black & white or colour, single or double side, enter pages and copies, and see an instant estimate before you submit.